In this tutorial we will go over how to export your Flash course for Storyline. Now I have import Flash into Storyline in the past but and have mixed results. i rather get the scrub bar for the flash content that looks different then the regular scrub bar that Storyline usually gives or if you choose not to use the Flash scrub bar and use the regular Storyline scrub bar the Flash content is always off sync from the Flash. So now I have figured out how to export out of Flash as a movie that we can now import into Storyline.
The first thing that you will want to do is open your Flash file. I am using Flash CC, this will also work for CS3 – CC. I have found that using Flash CC is easier for export to video out of all of them. CS 3 – CS6 always crashed on me when export large scenes it would give me an error saying that “Flash has run out of memory“, small scenes work well. Also make sure most of your artwork is in vector or be in a large format before you do this because we are going to change the stage size.
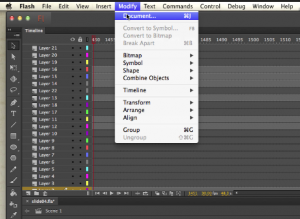
Now lets open our file that you want to export as a video. Click on “Modify” at the top of the Flash application. Then select “Document”.
Now “Documents Settings” should be opened. We now want to change the size of our document in this instance we are going to change it to 1440 x 1080 px. Now we want to make sure that we have the “Scale Content” box checked. Now click “OK”.
You will now need to save your file. If you do not save it you may get an error. Now we need to export the video. File > Export > Export video.
Next we will to browse the folder where you would want the video to be saved, there is a tick box if you want to export to “Adobe Media Encoder” but in this box I am leaving all the settings as default and click “Export”.
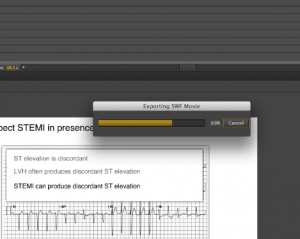
It will first publish the “SWF” then it will export the video.
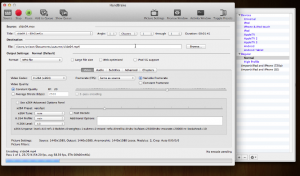
These is optional, I run the video that we just exported to “Handbrake just to bring down the file size. If you need help with the setting in Handbrake let me know. I just use the default settings.


