Repository in Moodle for SCORM
Have you ever uploaded your SCORM files then later you need to up date the files but you can’t find where you uploaded it to? In this tutorial we will be going over how to set up a repository folder to house your SCORM files and images files.
The first step is to open up your FTP once you have Moodle installed. Look for the data folder outside of your public directory, it should have been named when you first set up your Moodle app. The default setting is “moodledata”, when you set up your site you can name the the folder what ever you want. In this tutorial I made a sub-doamain on the site so the folder that I am using is called “iPadData”.

Once you have the data folder open, create a folder and call it “repository”.

Once you have your “repository” folder created, create another folder called “SCORM”, this is where we will drop our SCORM files into.

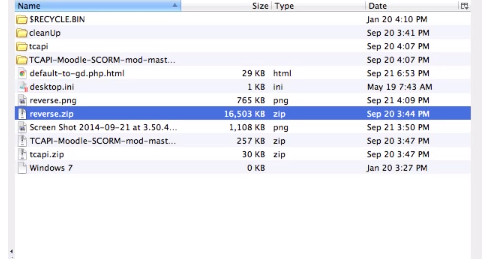
Once you have your “SCORM” folder created, move over your SCORM content such as your Articulate Storyline zip file or Articulate Presenter zip file.
While that is loading to your server, we can turn on “File Systems”. In Moodle go to “Administration” and select “Plugins”, “Repositories”, and Manage Repositories. Scroll down to find “File System” , in the drop down choose “Enabled and visible”.

Select “Allow admins to add a file system repository instance to a course”, then click “Save”.

Once you click save, the system will take you back to “Manage Repositories” page. Scroll down to File System, and select “settings”.

Now click on “Create a Repository Instance”.

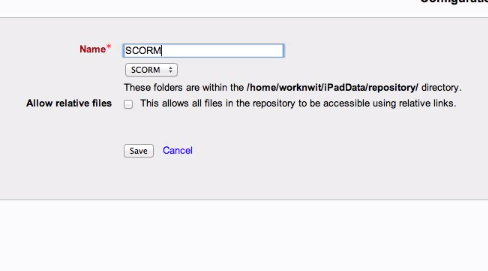
Select the name of the instance that you want, I usually name it the same name as my repository file name. Once you have selected the name click “Save”.
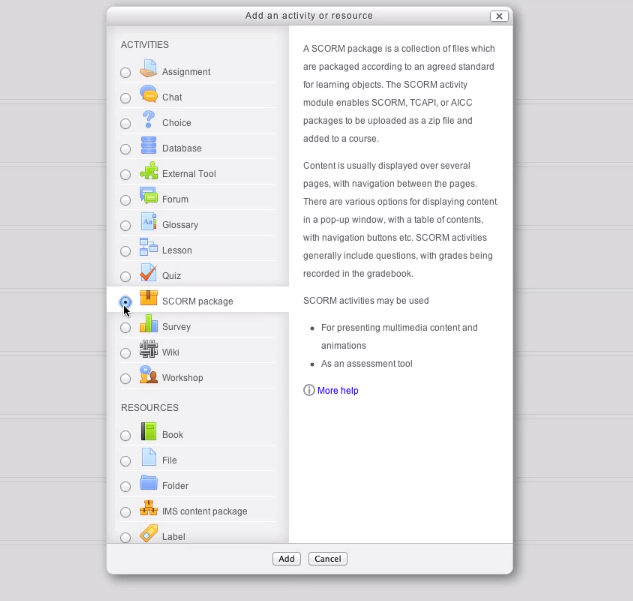
Now that we have our file system setup we can go to our course to setup a SCORM course.
Lastly we can now choose our file from our SCORM folder.

Leave a comment if you have any questions.